
Halloween Nails Ideas are a spooky, creative thing to be introduced to your fingertips and allow you to pass the season in style. Nail art can be used to create a Halloween design because there are infinite ways to design the nail art based on creepy ghosts and pumpkins, haunted houses, spider webs, and blood-red effects. Just the soft, graceful accents, or rather the loud, theatrical appearance, it will be possible to find something that suits you, both the beginners and the professional nail artists.

The Halloween nails are even able to match your costumes or your party theme or any other decorations during the season,n and so your entire appearance will be consistent and enjoyable. These concepts enable you to make the most mundane of nails a work of a, rt at least during festivals through various nail techniques, colors, and textures. Halloween Nails Ideas are not only a great way to get into the spirit of the holiday but also a way of self-expression and creativity, since the small but detailed designs are permitted. These nail inspirations are perfect when you are partying, taking phoon the social media, or just having a good time in the holiday atmosphere.
Halloween Nails Ideas
Here’s a detailed list of 80+ Halloween Nail Ideas, organized by theme to inspire your spooky and stylish manicure designs:
Classic Halloween Themes
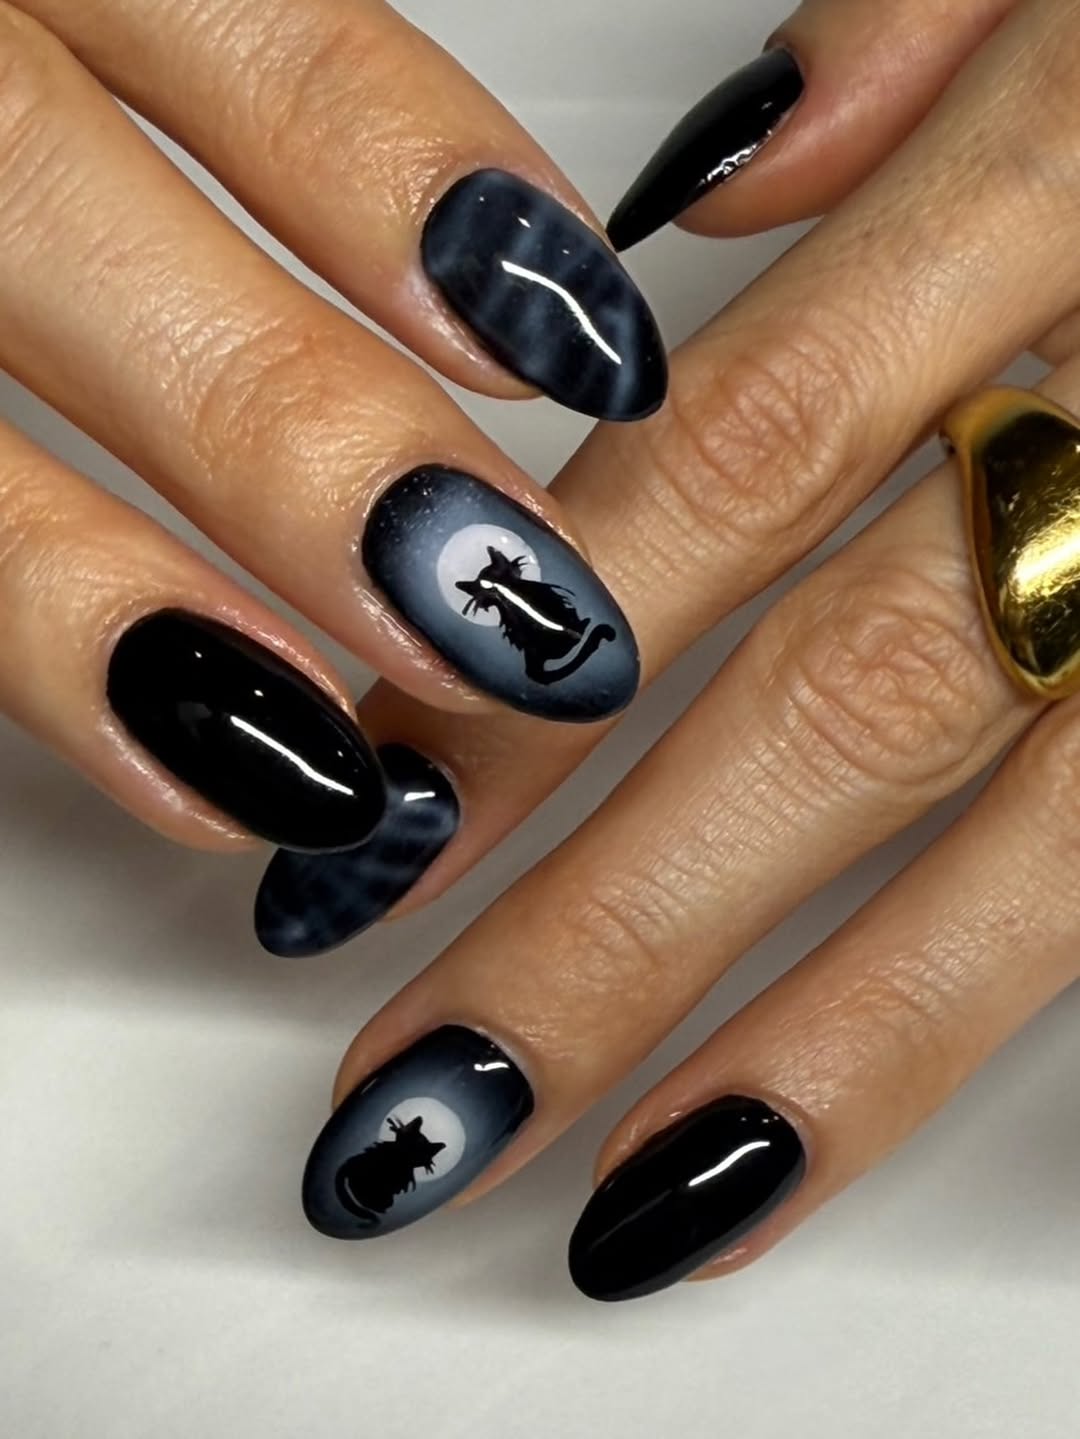
- Black Cat Nails
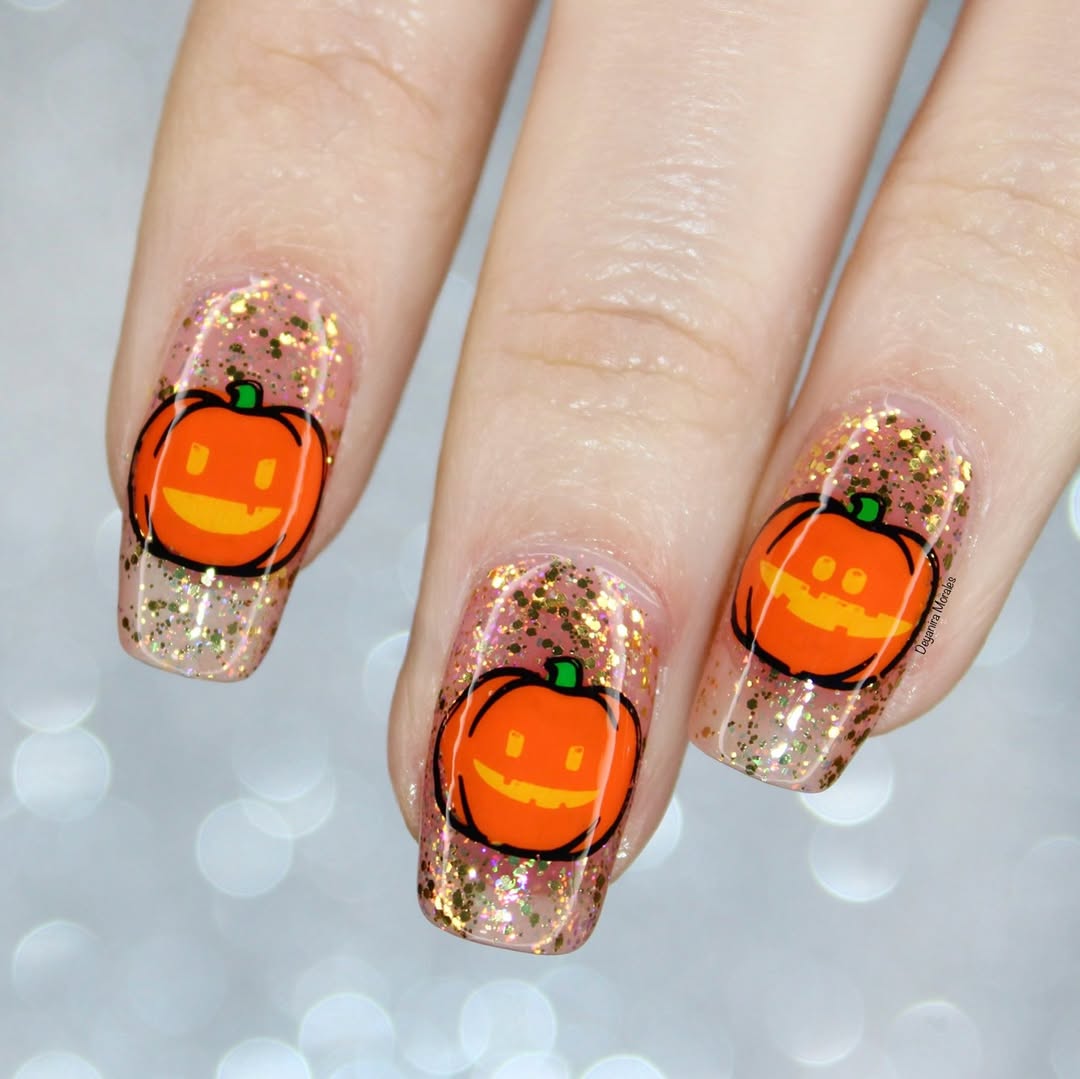
- Pumpkin Nail Art
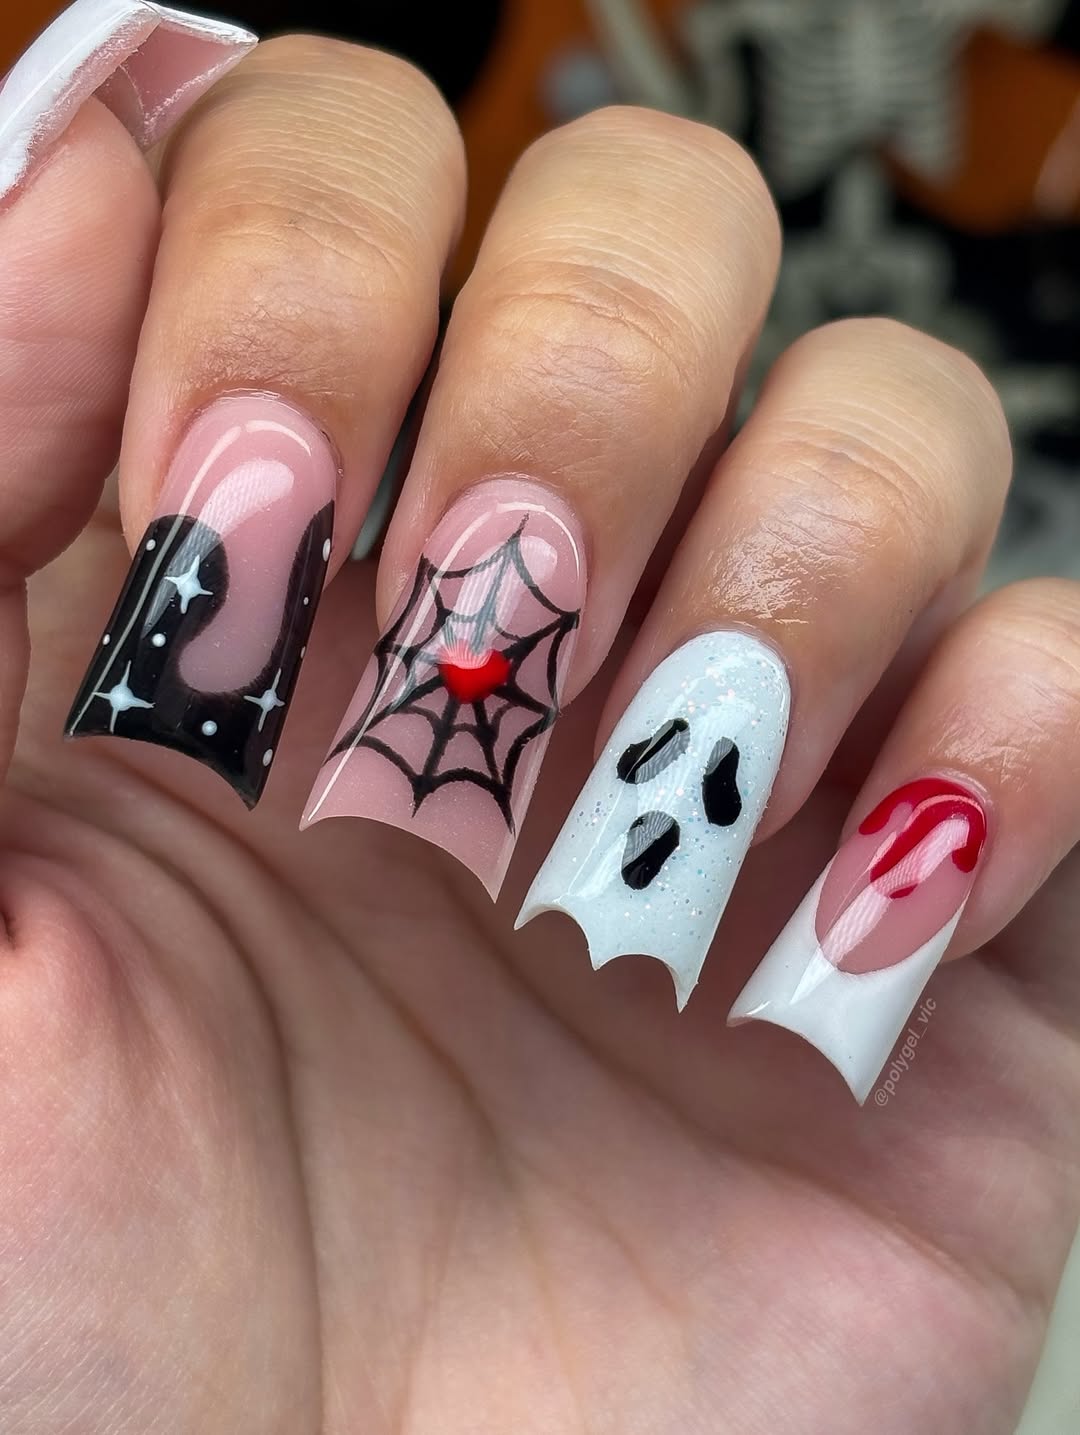
- Ghost Nails
- Spider Web Design
- Skeleton Nails
- Witch Hat Nail Design
- Vampire Fangs Accent Nail
- Frankenstein Nails
- Haunted House Art
- Bat Nails
Spooky & Creepy Designs
- Blood Drip Nails
- Zombie Nails
- Eyeball Accent Nail
- Skull & Bones Design
- Monster Nails
- Mummy Wrap Nails
- Graveyard Scene Nails
- Cobweb & Spider Nails
- Creepy Doll Eyes Nails
- Witch Brew Potion Nails
Pumpkin & Orange-Inspired Designs
- Jack-o’-Lantern Nails
- Orange Ombre Nails
- Glitter Pumpkin Nails
- Candy Corn Nails
- Pumpkin Patch Nails
- Pumpkin Face Accent Nail
- Glow-in-the-Dark Pumpkin Nails
- Pumpkin & Spider Combo
- Orange Matte with Black Accents
- Carved Pumpkin Design
Witch & Magic Themes
- Cauldron Nails
- Crystal Ball Nail Design
- Potion Bottle Accent Nail
- Black Magic Nail Art
- Witch Silhouette Nails
- Moon & Stars Nails
- Tarot Card Nails
- Spell Book Accent Nail
- Purple & Black Gradient Nails
- Glittery Witch Hat Nails
Gothic & Dark Aesthetic
- Matte Black Nails
- Red & Black Gradient
- Blood Splatter Nails
- Coffin Nail Shapes
- Dark Rose Nails
- Spider & Lace Nails
- Dark Marble Design
- Black Glitter Nails
- Skeleton Hand Accent Nail
- Gothic Cross Nails
Candy & Fun Halloween Nails
- Candy Corn Gradient
- Halloween Cupcake Nails
- Lollipop Accent Nail
- Trick or Treat Nails
- Sweet Ghosts Design
- Fun Pumpkin Patterns
- Colorful Spider Nails
- Cute Monster Nails
- Glow Candy Nails
- Halloween Emoji Nails
Elegant & Minimalist Designs
- Black Tips with Orange Accents
- White Ghost Minimal Nails
- Gold Foil Halloween Nails
- Negative Space Pumpkin Nails
- Subtle Cobweb Accent
- Tiny Bats on Matte Background
- Minimal Witch Hat Design
- Monochrome Skeleton Art
- Glitter Accent with Dark Base
- Simple Pumpkin Outline
Glitter & Sparkle Nails
- Black Glitter Base with Orange Tips
- Orange Glitter Fade
- Spooky Glitter Accent
- Glow-in-the-Dark Glitter Nails
- Glitter Skeleton Nails
- Glitter Spider Webs
- Candy Corn Glitter Tips
- Glittery Haunted House Nail
- Sparkly Blood Drip Nail
- Ombre Glitter Halloween Nails
Step-by-Step Halloween Nails
1. Black Cat Nails
- Step 1: Coat your nails with a base coat.
- Step 2: Apply nail polish with a black or dark colored base.
- Step 3:Draw cat silhouettes/cat faces on the nails with a fine brush.
- Step 4: Add the details, such as eyes or whiskers, by using white or yellow nail polish.
- Step 5: adda lid to give that shiny and long-lasting effect.
2. Pumpkin Nail Art
- Step 1: Apply all nails with a base coat.
- Step 2: Brush on the nails with an orange nail polish as the base of the pumpkin.
- Step 3: Shake on pumpkin shapes or outlines with a fine brush.
- Step 4: Add some green stems and black details such as lines or a Jack-o-lantern face.
- Step 5: Escape with a clear top coat as a finisher.
3. Ghost Nails
- Step 1: Use a base coat so as to protect your nails.
- Step 2: Paint the nails using white nail polish as the ghost base.
- Step 3: Skipthe eyes and the mouth on the ghost using black polish.
- Step 4: Add some light glow (optionally) with a light silvery or light pastel glow effect around the ghost.
- Step 5: Top coat to make it last longer and shine.
4. Spider Web Design
- Step 1: Paint nails using black, dark purple, or grey nail polish and apply a base coat.
- Step 2: Line in spider web patterns with a thin nail art brush or nail arpenpe,n starting with one corner.
- Step 3: Add information such as small spiders with black dots and lines.
- Step 4: Decoratively, a glitter accent may also be added to some of the web strands.
- Step 5: Seal the design with a topcoat to seal the design and add shine.
5. Skeleton Nails
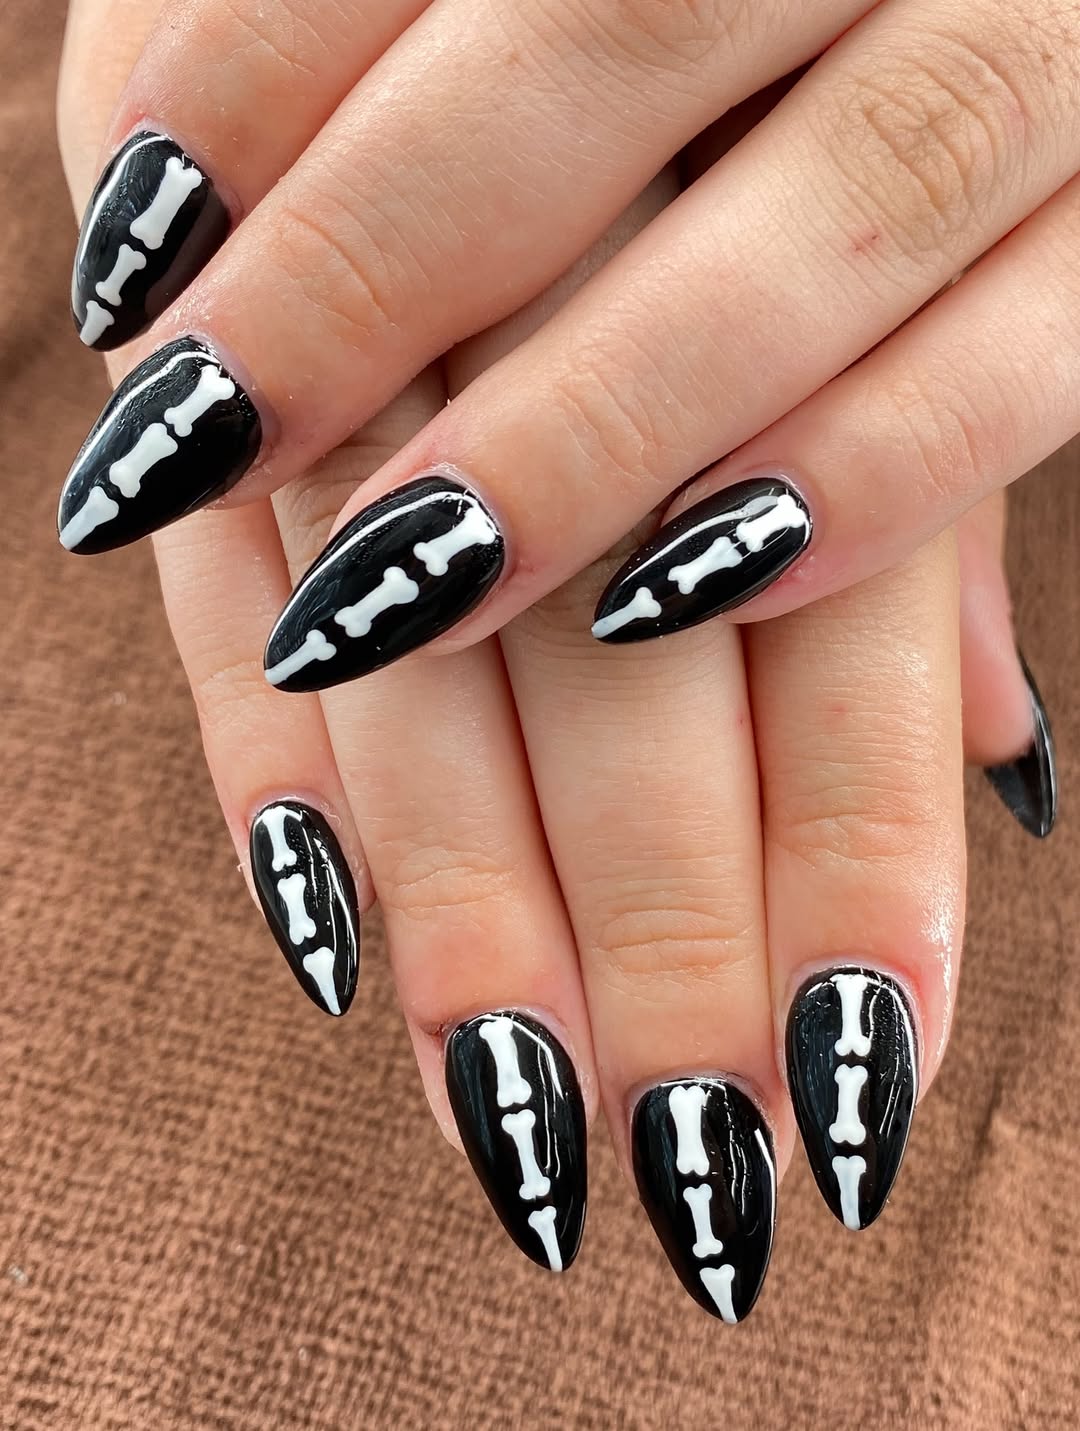
- Step 1: Coat nails with a base coat.
- Step 2: Paint black or dark colors of nails.
- Step 3: Draw the bones of the skeleton on every nail using white nail polish (skeleton bones, hand or full skeleton pattern).
- Step 4: Fill the thin lines with joints or little cracks using a fine brush.
- Step 5: Topcoat the design to fix and keep it.

Hey there! I’m Ashlei Lynee, the heart behind fashioninstamom.com — your go-to destination for all things chic, stylish, and real-life fabulous. I’m a fashion-loving mama, an Insta-obsessed trendspotter, and a believer that motherhood and style can totally go hand-in-hand.
I started Fashion Insta Mom as a creative outlet to share my love for fashion, beauty, and all the things that make women feel confident, powerful, and put-together — even with a toddler on one hip and coffee in the other hand! From outfit ideas and closet must-haves to beauty tips and lifestyle inspo, I curate content that reflects the modern woman: busy, bold, and beautiful in every way.