
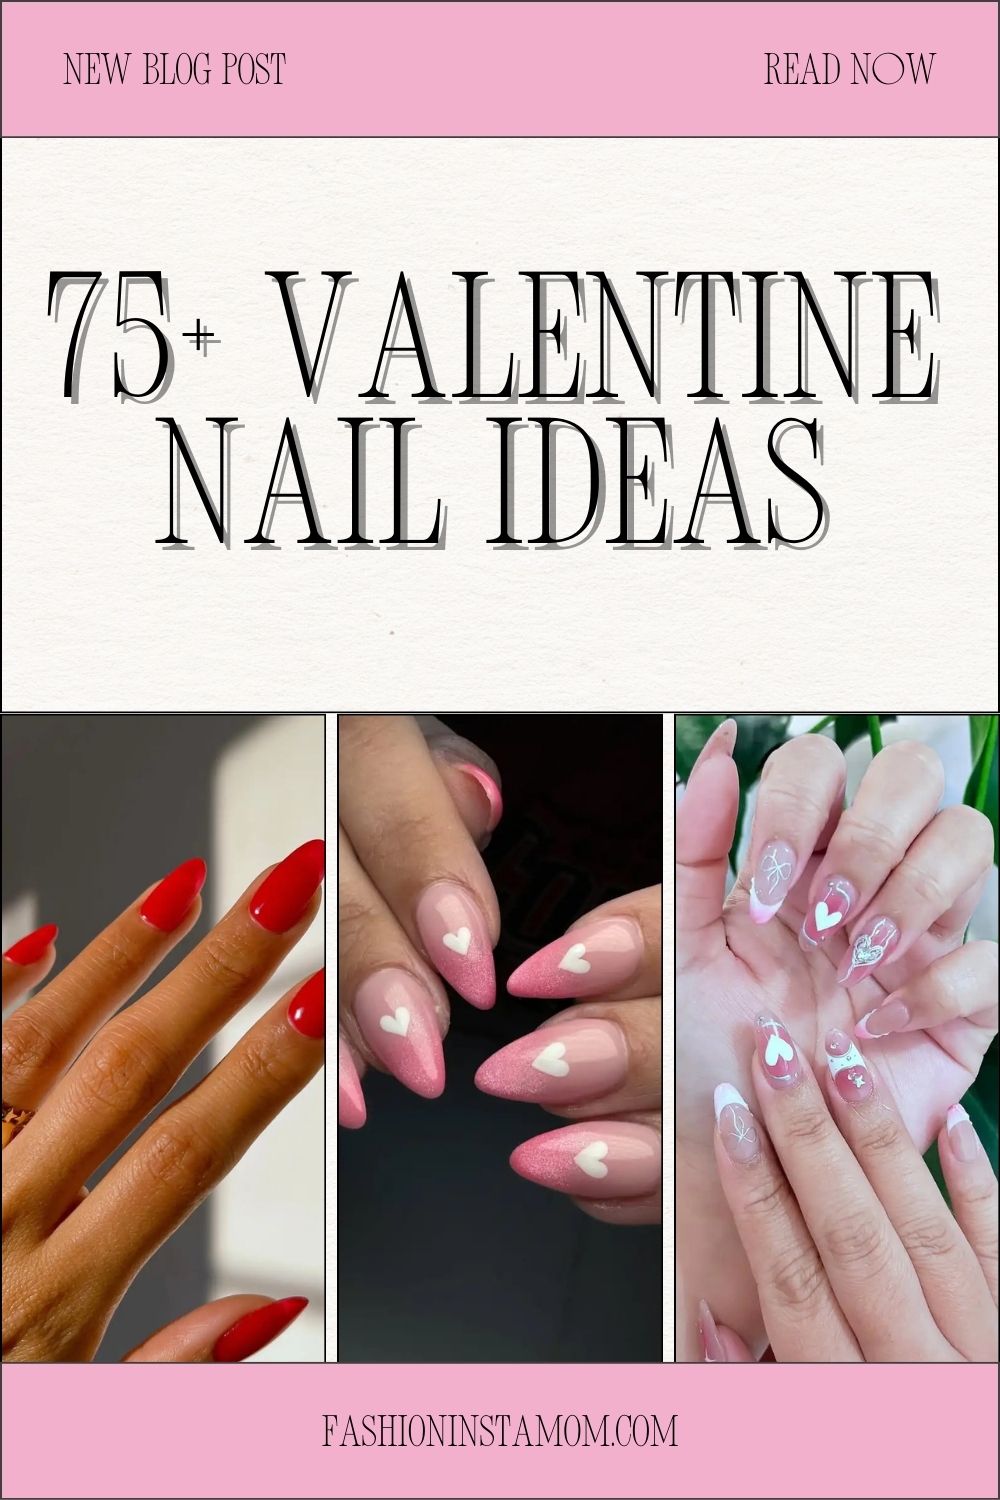
Valentine Nail Ideas creatively show your love in the fun and stylish designs on Valentine’s Day. Valentine Nail Ideas are the source of endless inspiration, including the sophisticated reds and pinks, as well as the intricate designs, the motifs of hearts, and glitter accents. Along with light and elegant design, or bright and playful style, everything can be found in either style and situation. Nail art may be used to match your dress, facilitate your character, or even suit the theme of a valentine day party.
In addition to the aesthetic value, the process of testing nail trends andseasonaln colors is pleasant and individual. Starting with the home DIY and going to the professional salon, Valentine Nail Ideas make you feel festive and confident. Your nails are a blank canvas, and you can use them to embrace the season of love beautifully and differently and to show your flair.
Valentine Nail Ideas
Absolutely! Here’s a list of 75+ Valentine Nail Ideas in one line each for quick inspiration:
- Classic red manicure
- Pink ombre nails
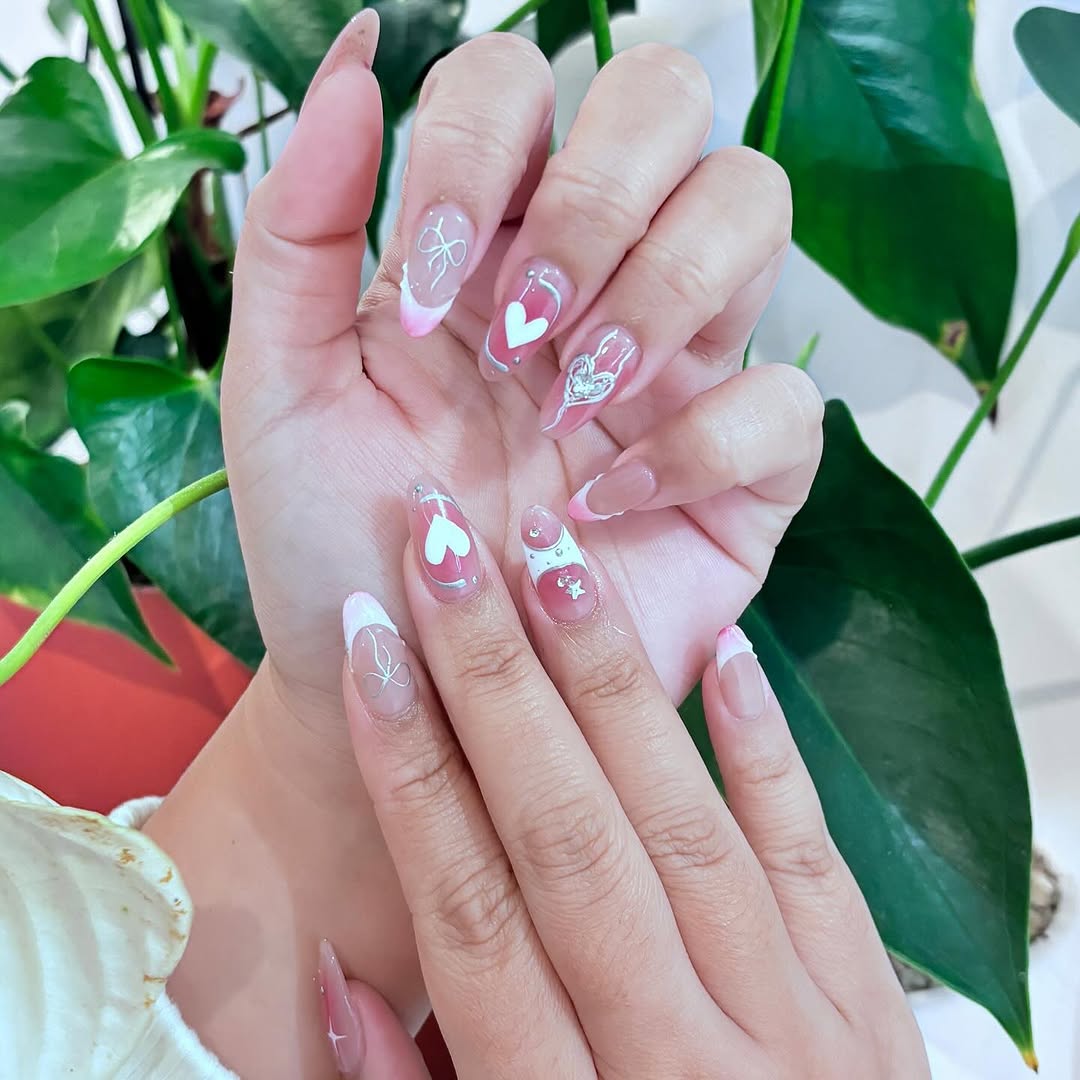
- Heart accent nail
- Glittery pink tips
- Red and gold stripes
- Polka dot hearts
- French tips with hearts
- Matte red nails
- Pink and white swirl
- Heart-shaped negative space
- Red glitter nails
- Valentine’s Day nail stickers
- Pink rhinestone accent
- Ombre glitter nails
- Rose gold nails
- Red and black combo
- White nails with red hearts
- Pink marble nails
- Glitter heart tips
- Nude nails with hearts
- Red glitter ombre
- Pink French manicure
- Red and pink stripes
- Tiny heart decals
- Valentine’s themed stamping
- Shimmery pink nails
- Gold heart outlines
- Red matte with gloss tips
- Heart-shaped cutouts
- Pink and silver glitter
- Red and white polka dots
- Heart French tips
- Red and nude ombre
- Heart charms on nails
- Gradient pink nails
- Pink glitter tips
- Valentine’s confetti nails
- Glossy red nails
- Matte pink nails
- Heart outline nail art
- Pink and gold foil
- Red nails with rhinestones
- Mini hearts on nude
- Pink glitter fade
- Red and white stripes
- Ombre heart design
- Valentine’s Day decals
- Glossy pink nails
- Pink heart stamping
- Red and nude combo
- Tiny heart accents
- Glittery white nails
- Pink nails with hearts
- Red and silver glitter
- Valentine’s nail charms
- Heart-filled French tips
- Pink and gold glitter ombre
- Nude nails with red hearts
- Red and pink marbles
- Glitter heart accent nails
- Matte red with gold hearts
- Shiny pink tips
- Pink ombre with glitter
- Red nails with white hearts
- Mini heart decals
- Red glitter fades
- Valentine’s themed nail stickers
- Pink and white hearts
- Red heart cutout nails
- Pink and nude combo
- Glossy red hearts
- Nude nails with pink hearts
- Glitter heart tips on nude
- Pink nails with gold accents
- Ombre red-pink nails
Step-by-Step Valentine Nail
1. Classic Red Manicure

- Prep nails: Clean nails; trim them and shape nails; push back cuticles.
- Base coat: Coat nails using a clear base coat.
- Apply color: Coat nails with two coats of red nail polish and dry.
- Clean edges: Have a small brush loaded with nail polish remover and clean the edges.
- Top coat: Coatthe top with a glossy surface to seal and give shine.
2. Pink Ombre Nails

- Prep nails: File, buff, and clean nails; put base coat on.
- Base color: Have the nails painted with a light pink as the base.
- Make ombre: Dab darker pink with a makeup sponge on the tip.
- Blend: Continue until the gradient is smooth and seamless.
- Seal: Coat the top layer to make it lustrous.
3. Heart Accent Nail
- Figure nails: Clip, shape, and polish nails; put on base coat.
- Base color: Paint out all the nails with a neutral or pink tone.
- Heart design: A small brush or dotting tool is used to draw a heart on one or two accent nails.
- Touch-ups: Clean up with a brush dipped in polish remover.
- Finish: Apply a transparent top coat on the top to make it shiny and tough.
4. Glittery Pink Tips
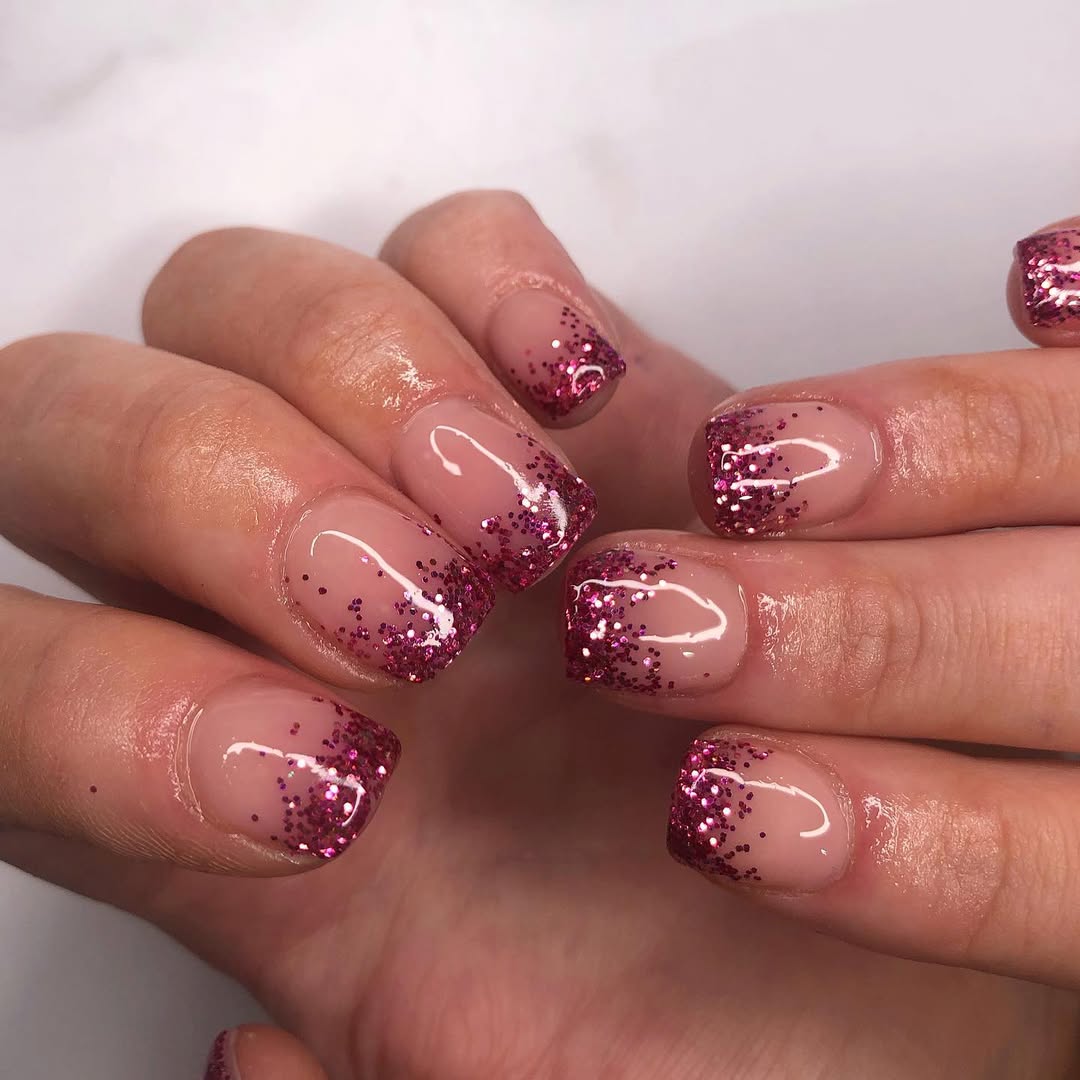
- Prep nails: Clean, trim, and shape nails; apply abase coatt.
- Base color: Use a light pink polish on all nails.
- Glitter tips: Glitter polish can be applied on the tips with a brush or sponge.
- Blush: Rub a duckie to hasten glitter downwards to create a gradient.
- Top coat: Use a smooth top coat to add smooth texture and gloss.
5. Red and Gold Stripes

- Prep nails: Clip, mould, and polish nails; put on base coat.
- Base color: Red paint nails and allow to dry.
- Paint stripes: Paint nail stripes with gold striping tape or a fine brush.
- Touch-ups: Clean edges of tape and remove tape carefully.
- Top coat: Top coat with clear top coat to seal and improve shine.

Hey there! I’m Ashlei Lynee, the heart behind fashioninstamom.com — your go-to destination for all things chic, stylish, and real-life fabulous. I’m a fashion-loving mama, an Insta-obsessed trendspotter, and a believer that motherhood and style can totally go hand-in-hand.
I started Fashion Insta Mom as a creative outlet to share my love for fashion, beauty, and all the things that make women feel confident, powerful, and put-together — even with a toddler on one hip and coffee in the other hand! From outfit ideas and closet must-haves to beauty tips and lifestyle inspo, I curate content that reflects the modern woman: busy, bold, and beautiful in every way.